Camera and lens
Sharp images at production speed. The global-shutter camera freezes moving parts without blur and is managed directly by the unit.
Up to 12 MP · global shutter · C-mount
The system
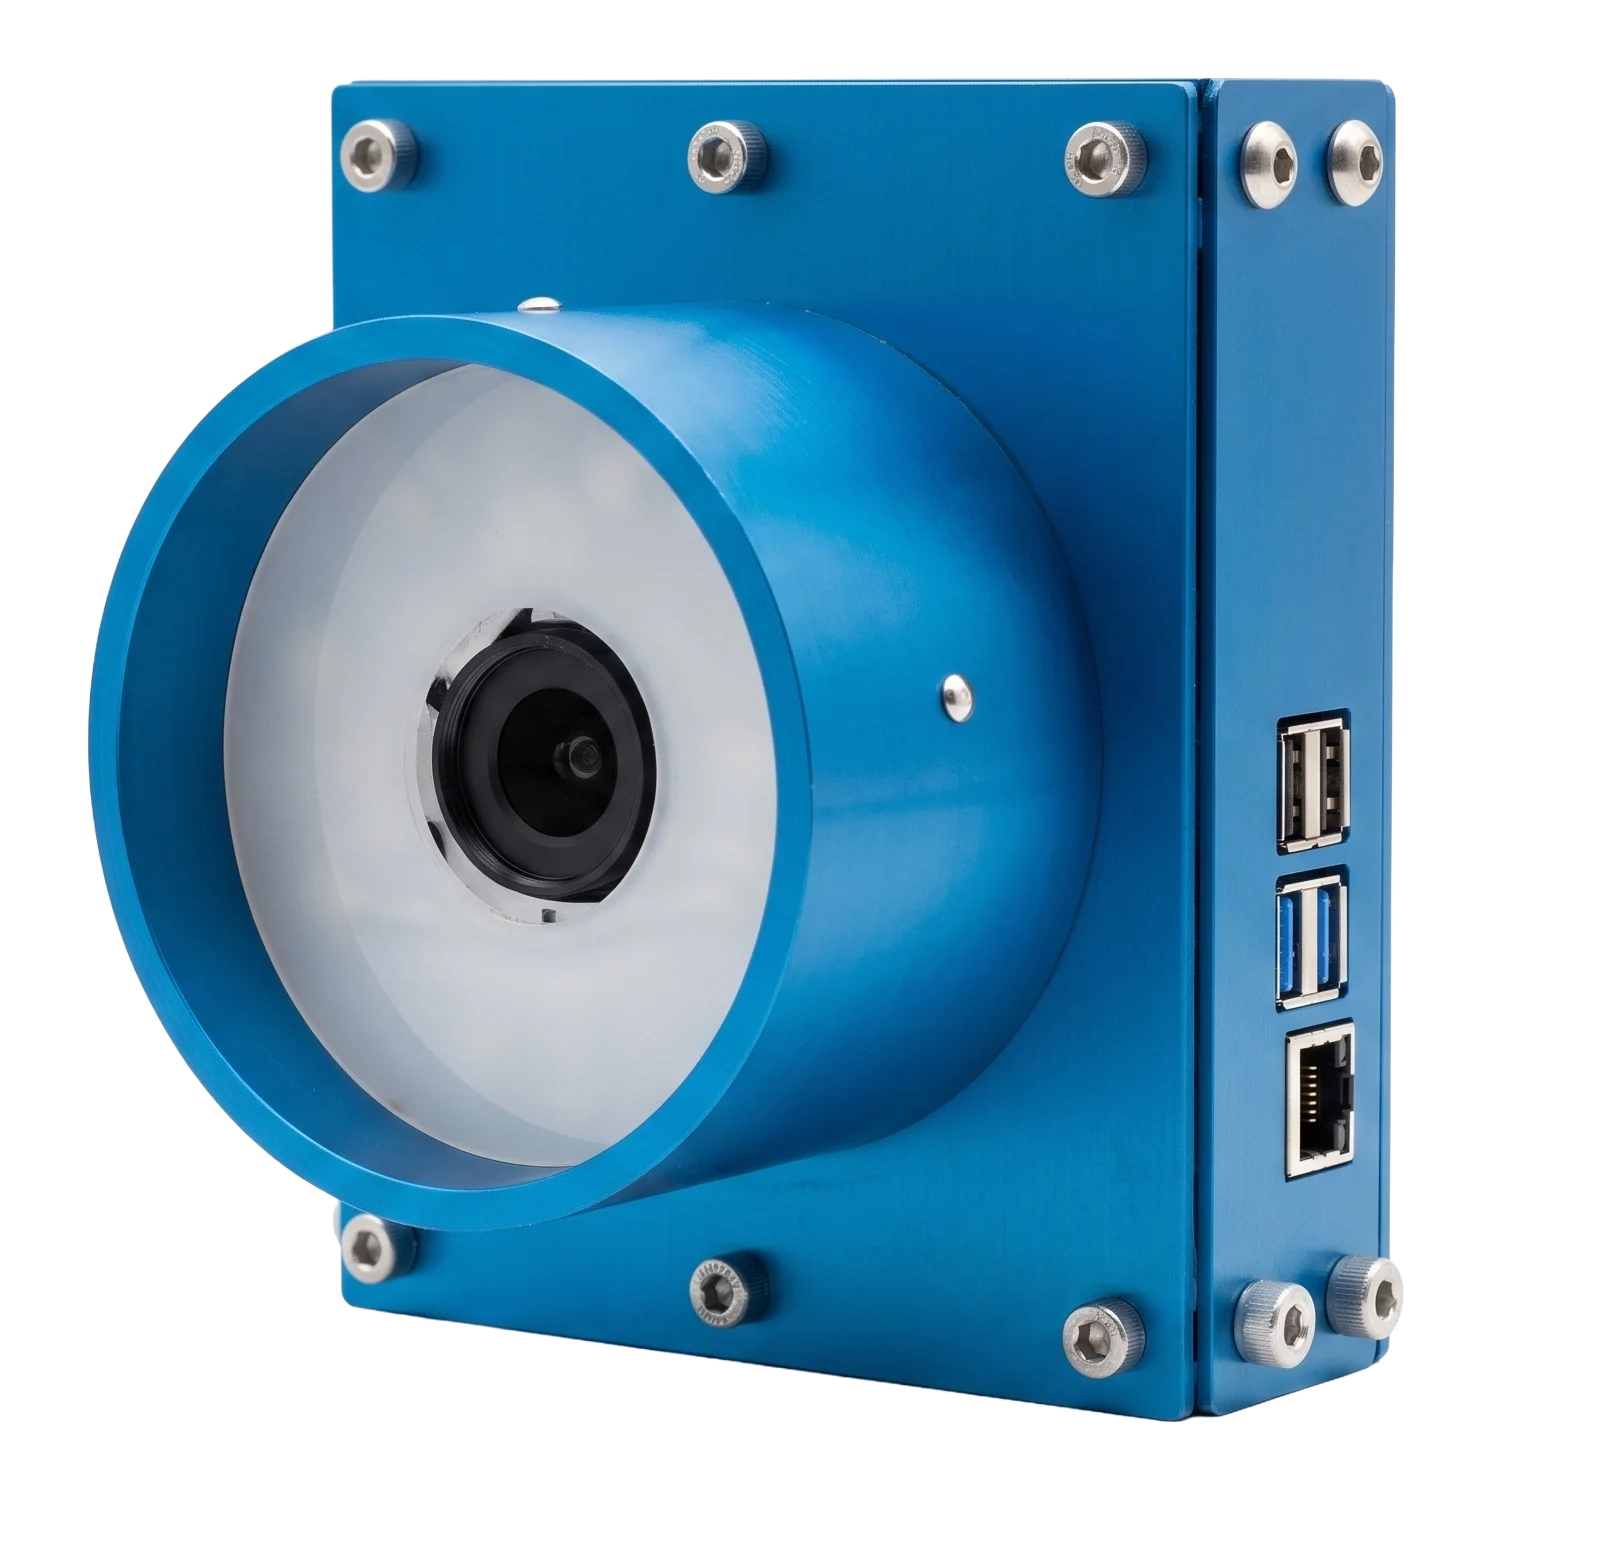
Adente Vision combines the camera, lighting, edge compute and Adente Vision Studio in one industrial package. Every package is assembled and tested in our factory before it ships.
FIG · 01 / The inspection unit
What's in the package
The same package runs different inspection scenarios. Mounting hardware, the industrial switch and cabling are included.
Sharp images at production speed. The global-shutter camera freezes moving parts without blur and is managed directly by the unit.
Up to 12 MP · global shutter · C-mount
Light makes the defect visible. Set the geometry, color and intensity for your part in Adente Vision Studio.
Configurable color and angle · 24V
The decision is made next to the line. The unit starts on power-up, evaluates every part in ~30 ms and sends the result to the PLC. Production images never leave your factory.
NVIDIA Jetson class · 8–16 GB
Choose the inspection job on site. Setup, camera tuning, region marking, sample collection and the live operator screen are all guided in one application; five inspection modes ship pre-loaded.
5 inspection modes · pre-loaded
Technical figures
Latency and throughput are application-specific, measured per line.
Commissioning
01
The camera goes on its bracket, the lighting is positioned for the part, the compute unit is mounted in the panel; everything connects to the industrial switch.
02
Studio validates the license, finds the unit on the network and pairs with it. The camera is already discovered; no IP addresses are typed by hand.
03
You pick the inspection mode. Camera settings come from Auto-tune, focus locks against a live focus score, the part region is marked, the trigger is chosen.
04
About 20 good parts are captured from your line, labeled and uploaded to Adente. Training happens on our side; the model is assigned to the station in under 48 hours.
05
You download the assigned model in Studio and put it live. The unit produces a pass/fail on every part; the reject signal goes to the PLC.
The deployment is a fitter's job; your solution partner handles every step. The walkthrough is in the 30-minute install post.
How the model is made
Samples
You collect about 20 good parts in Studio’s guided flow; the region is marked, the samples are labeled and uploaded to Adente.
Training
Our engineers train and validate the model; it is assigned to your station in under 48 hours. You never touch machine learning.
Model
The assigned model appears in Studio, ready to download and put live. A new product or variant follows the same flow; the hardware does not change.
We bring the unit to your line and test it on your own parts, at your own line speed. If you build systems for factories, we can run the same test on your customer's line together.