Updated July 2026 · 7 min read · Serkan İnkaya · Mechanical Engineer, ODTÜ
Why is the Wire step where inspection joins the cell?
Mount, Aim and Configure get a unit seeing parts, but nothing acts on the result until the Wire step connects the decision to the machine around it. Wire is where a good/no-good verdict becomes a reject pulse, a program-select signal or a line stop. Get it clean and the inspection is just another node the PLC already trusts; get it wrong and the line either ignores rejects or stops on phantom faults.
The Wire step has three parts: get the trigger in, so capture is locked to the part; get the result out, as a discrete signal or a fieldbus word; and time the reject actuator so the flagged part is diverted at the right station. Adente Vision is an edge-AI visual inspection unit built by ADENTE Advanced Engineering Technologies, part of the Aden Group, sold through automation system integrators, so in practice your integrator does this wiring against a PLC and a cell they already know.
Because the decision is made on the unit itself, there is no PC in the loop between the camera and the controller. The verdict that leaves the enclosure is final for that part, which is what lets a per-part reject keep pace with the line.
When should you use discrete I/O versus a fieldbus?
Discrete I/O and a fieldbus are not competitors; they answer different questions. Discrete I/O is the shortest path for a single, hard signal: a pass/fail bit, a reject pulse, an external trigger in. A fieldbus carries the richer payload: the verdict plus a reject reason, a variant code, running counts, and a timestamp for traceability. Most cells use both, discrete for the reflex action and a fieldbus for the record.
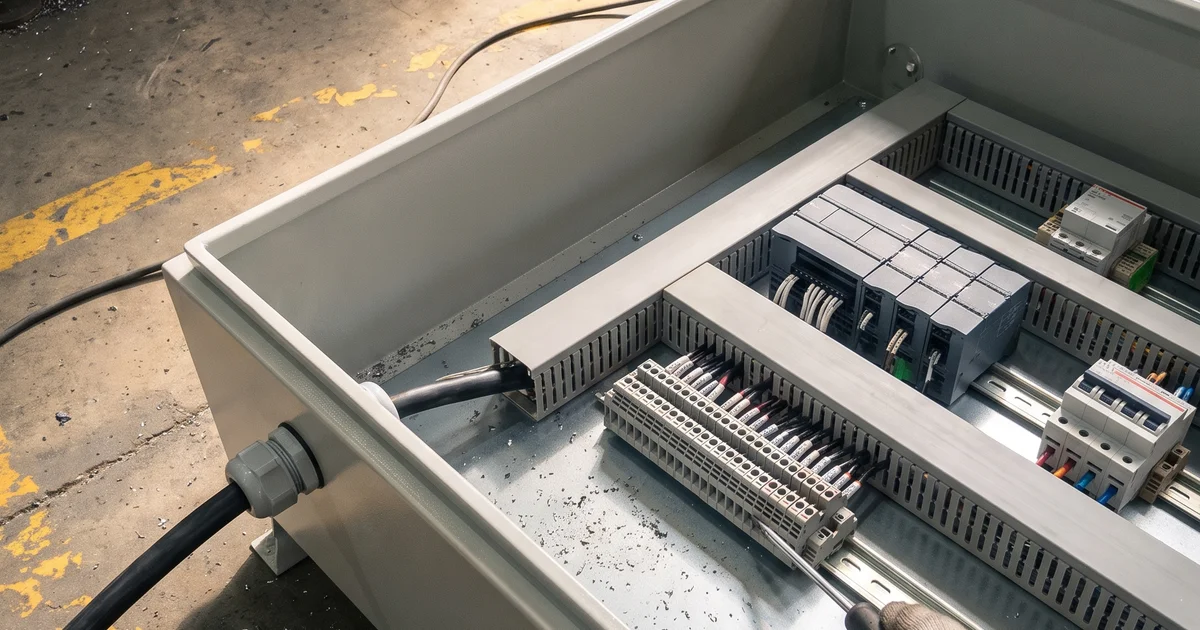
The unit gives you 4 inputs and 4 outputs at 24V for the discrete side. Those four outputs are enough to signal pass, no-good, a reject-eject pulse and a station-ready or fault line, wired straight into PLC input cards without a gateway. The four inputs take a trigger, a reset, a mode or recipe select, and a part-present interlock. When the cell needs more than a handful of states, or when quality wants the reject reason logged rather than inferred from a bit pattern, that is when you move the result onto the fieldbus.
A useful rule: wire the action on discrete I/O so a reject never depends on network timing, and mirror the full result on the fieldbus so the MES has the record. The reflex is hard-wired; the reporting rides the bus.
Which protocol should you match to your PLC?
Match the protocol to what the PLC already speaks, not the other way round. The unit supports five: PROFINET, EtherNet/IP, Modbus TCP, EtherCAT and OPC UA. That list covers the controllers you are likely to meet in an inspection cell, so the integration is a configuration choice rather than a hardware change.
| Signal path | When to use it | What it carries |
|---|---|---|
| Discrete output (24V) | Reflex reject, hard pass/fail, line-stop | One bit each: good, no-good, reject pulse, fault |
| Discrete input (24V) | Trigger, reset, mode or recipe select | Encoder or photoeye pulse, part-present interlock |
| PROFINET / EtherNet/IP / Modbus TCP | Result plus reason to a PLC or SCADA | Verdict, reject code, variant, running counts |
| EtherCAT | Tight-cycle, deterministic motion cells | Verdict placed in the fieldbus process image |
| OPC UA | MES and SCADA reporting, traceability | Verdict, timestamp, part record for the log |
Pick one protocol for the cell and standardise on it. The verdict maps to a bit or an integer in the PLC process image the same way every time, so the ladder logic that reads it looks identical whether the parts are caps, bumpers or housings.
How do you wire the trigger so capture locks to the part?
Capture has to fire on the part, not on a timer that drifts against it. The unit triggers three ways: an encoder pulse, a photoelectric sensor, or a fixed interval. Encoder triggering ties each capture to conveyor position, so the frame lands at the same point on every part regardless of small speed changes. A photoelectric sensor fires when the part breaks the beam, which suits indexed or pick-and-place stations. A fixed interval fits a steady, free-running flow where a hardware trigger is not available.
Feed that trigger into one of the four discrete inputs. Set the offset so the part is fully in frame and lit at the moment of capture, then confirm it on the on-device preview before you leave, no laptop required. A trigger that is a few milliseconds early or late is the most common cause of a good part reading as no-good, so this is worth getting right at the Wire step rather than tuning it out later.
How do pass/fail and reject reason reach the controller in real time?
The unit decides per part and emits the result immediately, so pass/fail is available to the controller within the same cycle. The measured field result is about 30 milliseconds per part; the conservative catalog bound is 0.5 seconds per part at a throughput of 100+ parts per minute. Treat these as the envelope: the number you can commit to for your own reject-actuator timing needs an application-specific measurement on your parts, lighting and conveyor speed.
In practice the flow is: trigger in, capture, decide, verdict out on a discrete output and mirrored on the fieldbus, then a delayed reject pulse timed to the eject station downstream. The reject reason, which class or which measurement failed, travels on the fieldbus word or is logged to the web dashboard, so an operator reading a reject sees why, not just that it happened. Because everything runs on a fanless edge board inside the enclosure, the loop closes on the line with no cloud round-trip and no images leaving the plant. The bit on that output is the end of a chain that begins with a confidence score measured against a threshold, so it is worth reading how confidence scores and decision thresholds are set before you tune the cell.
For the full Mount, Aim, Configure and Wire sequence, see the sibling post on installing AI inspection in about 30 minutes; for the I/O, trigger and protocol detail on the unit itself, see the system page; and for the method behind the AI decision, see the pillar guide on AI visual inspection.