Updated July 2026 · 8 min read · Serkan İnkaya · Mechanical Engineer, ODTÜ
Why does site preparation decide whether a 30-minute install holds?
A commissioning visit runs to schedule when the line is ready and slips when it is not. The unit mounts in about 30 minutes by one person, in four steps, Mount, Aim, Configure and Wire, because it weighs under 9 kg. What turns that half hour into a half day is rarely the unit: it is a missing power drop, a bracket that flexes, a trigger nobody wired, or a network port the PLC cannot reach. A short site-prep pass before the box is opened removes those surprises.
Adente Vision is an edge-AI visual inspection unit built by ADENTE Advanced Engineering Technologies, part of the Aden Group, sold through automation system integrators. On most projects the integrator commissions the unit and the site owner runs the line it lands on, so this checklist is written for that split: the production team gets the station ready, and the integrator arrives to a line prepared to accept the unit.
What power and mounting does the station need?
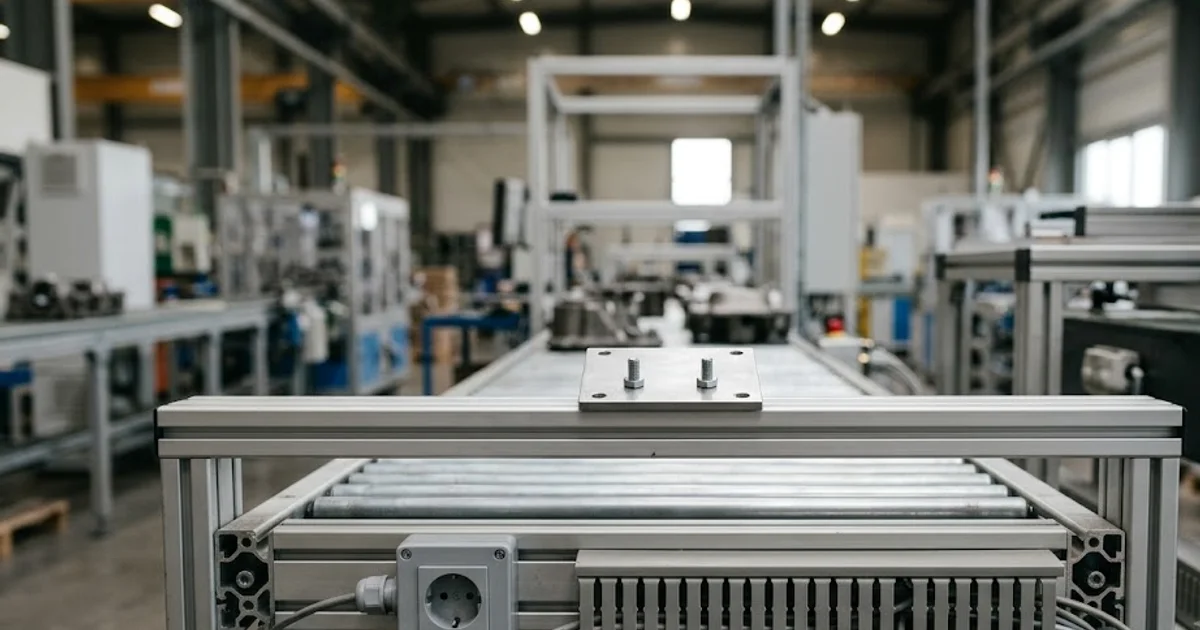
The unit needs a single-phase supply and a rigid place to sit. Power is 90-240 VAC at about 60 W typical, so a standard industrial outlet near the station is enough and there is no need for a dedicated high-current feed. Confirm the outlet exists, is switched on the right circuit, and is close enough that the cable does not cross a walkway.
The enclosure is 320 x 240 x 180 mm and weighs under 9 kg, so the bracket does not need to be heavy, but it does need to be stiff. Any flex or vibration moves the field of view between the aim step and the first inspected part, and a camera that drifts after commissioning generates false rejects nobody asked for. Fix the bracket to structure that stays still when the line runs, not to a guard panel or a sensor post that gets knocked.
Plan clearance on three fronts: in front of the lens for the working distance to the part, around the enclosure for cabling and heat, and at the lens face for cleaning access. The board inside is fanless, so it does not pull dust through a filter, but it still sheds heat to the surrounding air and wants a little breathing room. The dimensions, weight and supply figures these clearances follow from are collected in the post on machine vision unit installation requirements.
Which trigger source should be ready at the station?
Inspection has to be locked to the part, not to a wall clock, so one of three trigger sources should be in place before the visit. An encoder pulse ties capture to conveyor position and suits parts that move continuously. A photoelectric sensor fires when a part breaks the beam and suits indexed or gated flow. A fixed interval works when presentation is already timed by the cell, for example a rotary table dwelling at a station.
Decide which one the station will use, run the signal to where the unit will sit, and confirm its voltage: the unit's discrete I/O is 24V, with 4 inputs and 4 outputs available for triggering and reject actuation. Getting the trigger wire and its reference to the station ahead of time turns the Wire step from a scavenger hunt into a five-minute termination.
What network drop and protocol should you provision?
The result has to reach the controller in the language it already speaks. The unit carries pass/fail and other results over PROFINET, EtherNet/IP, Modbus TCP, EtherCAT or OPC UA, so before it arrives, pull a network drop to the station and confirm which of those protocols the PLC expects, together with the addressing the cell uses. Naming the protocol in advance means the Configure step is a setting, not a debugging session.
If the line is air-gapped, that is supported: model updates load from a USB stick, so there is no requirement to expose the station to a wider network just to keep it current. Decide the network posture before install so the drop, or the deliberate absence of one, is a choice rather than a surprise.
Site-prep checklist: what to have ready before the box is opened
Everything on this list is the site owner's to prepare, and each item maps to one of the four install steps.
| Line item | What to have ready | Why it matters |
|---|---|---|
| Power | 90-240 VAC outlet near the station, about 60 W | Standard industrial supply; no dedicated feed needed |
| Mounting point | Rigid bracket on stable structure, sized for 320 x 240 x 180 mm and under 9 kg | A mount that flexes moves the field of view and causes false rejects |
| Trigger source | Encoder pulse, photoelectric sensor or fixed interval wired to the station | Locks capture to the part instead of a timer |
| Network and protocol | Network drop plus the protocol the PLC speaks (PROFINET, EtherNet/IP, Modbus TCP, EtherCAT or OPC UA) | Gets pass/fail to the controller with no translation layer |
| Ambient and ingress | Measured temperature and washdown exposure at the station | Picks the enclosure variant (IP54, IP65 or IP66; 0-45 C or 0-65 C) |
How do ambient temperature and washdown pick the enclosure variant?
The environment at the station picks which enclosure variant lands on the line, and this is the decision most expensive to correct after the fact, because the optics, edge compute and AI modes are identical across variants: only the enclosure changes. Measure the real temperature and exposure at the station, not the plant average.
The standard AV-S100 is rated for 0-45 C at IP54 and suits a dry assembly or machining cell. A washdown zone in food, beverage or pharmaceutical needs the IP65 AV-W100. A hot process near a foundry, glass works or hot-stamping line needs the AV-H100, rated to 0-65 C. A hazardous atmosphere needs the IP66 AV-X100. Humidity should sit inside 10-90%. Confirm the variant against the measured conditions before the order ships, so the box that arrives already matches the line.
What does the integrator handle, and what stays with the site?
The split is simple, and keeping it clear is what protects the schedule. The site owner readies the physical station: power, a stiff mount, the trigger wire, the network drop, and the ambient conditions that fixed the variant choice. The integrator arrives with the unit, mounts and aims it, configures the inspection and wires the result to the PLC, then validates the first parts with you.
Because the unit is sold through integrators rather than around them, the person commissioning it is the same partner who owns your automation, so the site-prep conversation happens once, up front, with someone who already knows the cell. A line that is ready on install day is unremarkable to look at: an outlet, a rigid bracket, a trigger wire, a network drop, and a variant matched to the ambient. With those in place, the visit is the 30-minute Mount, Aim, Configure and Wire it is meant to be, and the first inspected part comes off the line the same day.
This post is a spoke of the pillar guide on AI visual inspection; for the full mechanical and electrical envelope the checklist is built on, see the system.