Updated July 2026 · 7 min read · Mert Aytunur · Mechanical Engineer, University of Illinois Chicago
Why does a laptop-tethered aim slow a field install?
Aiming is the step where a fast install stalls. On many field setups, framing and focus mean balancing a laptop on a rail, running a cable to the camera, opening a configuration tool, and reading the image on a screen that is nowhere near the lens. Every small adjustment becomes a walk between the mount and the laptop, and a two-person job when one hand holds the camera and another drives the software.
Adente Vision is an edge-AI visual inspection unit built by ADENTE Advanced Engineering Technologies, part of the Aden Group, sold through automation system integrators, and the Aim step is designed to remove that friction. Because the compute, camera and preview are in one enclosure, the person mounting the unit is the same person reading the image, at the mount, with no separate PC in the loop.
How does the on-device preview replace the laptop?
The unit shows a live preview on-device, so the installer frames and focuses while looking at the actual output, standing at the station. Aim is the second of four install steps, Mount, Aim, Configure and Wire, and keeping it laptop-free is a large part of why the whole sequence fits in about 30 minutes for one person.
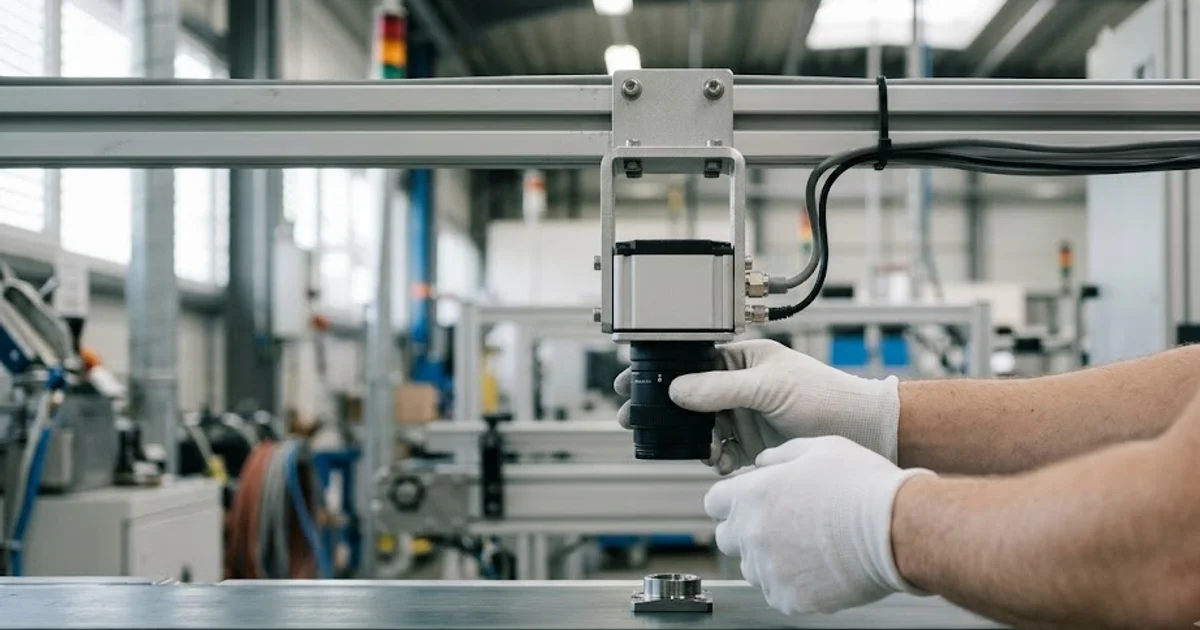
The workflow is direct: mount the bracket, bring the unit to the part, watch the live image, and move the unit until the part sits where you want it in frame. There is no round trip to a laptop between each nudge, so aiming is a continuous adjustment rather than a stop-start loop. Because the enclosure is under 9 kg, one installer can hold the unit against the mount, judge the frame on the preview, and mark the position without a second pair of hands.
How do you set framing and working distance with the C-mount optic?
Framing is about putting the inspected feature in the middle of the field of view at the right size, and working distance is how you get there. The optic is a C-mount lens with a sensor up to 12 MP (an imager of the class characterized under the EMVA 1288 standard) and a global shutter, so a moving part is captured without smear, which matters when you are judging a frame on a live line rather than a static sample.
Set the working distance so the feature you care about fills enough of the frame to be resolved, then confirm focus on the preview at that distance. A global shutter helps here: you can trust that what you see on a part in motion is what the model will see, not a blurred version of it. Leave a margin around the feature for part-to-part position variation, so a part that arrives slightly off-centre still lands inside the frame rather than clipping at the edge.
How do you read contrast and glare on the preview?
Good inspection starts with good imaging, and the preview is where you tune it. Lighting on the unit is configurable in colour and angle, diffuse, directional or coaxial, at 24V, and the point of aiming with a live image is that you set the light for the defect you need to see, not for a generic bright picture.
Watch two things on the preview. First, contrast: the feature or defect should stand out from the background, so change the angle or colour until the thing you want to catch is the most visible thing in frame. Second, glare: a specular highlight on a shiny part can hide a defect or trigger a false reject, so move the light off the axis that bounces straight back into the lens, or switch to a diffuse or coaxial setting that softens it. Because you see the result immediately on-device, this is a matter of minutes at the mount, not a repeated laptop round trip.
What does a good aim look like, step by step?
Each part of the Aim step has a tool and a clear pass condition you can read on the preview.
| Aim action | Tool | What good looks like on the preview |
|---|---|---|
| Position the frame | On-device preview | Inspected feature centred, with margin for part position variation |
| Set working distance | C-mount optic, up to 12 MP global shutter | Feature fills enough of the frame to be resolved; sharp focus |
| Tune the lighting | Configurable colour and angle (diffuse, directional, coaxial), 24V | Defect stands out in contrast against the background |
| Kill the glare | Light angle and diffusion | No specular highlight over the inspected feature |
| Lock the mount | Bracket fixings | Frame does not shift when the bracket is tightened |
How do you confirm single-viewpoint coverage and plan for it?
One unit is one viewpoint, so aiming also means confirming that the face you need to inspect is the face the camera sees. A single enclosure covers a single line of sight; it does not wrap around a part. During the Aim step, check that every feature on your inspection list is visible from this one position, at this working distance, under this lighting.
If the part has features on two faces, or a defect that only shows from another angle, plan for it deliberately: a second unit at a second station, or a fixture that presents the other face to the same viewpoint. Deciding this at aim time, while you can see exactly what the one viewpoint captures, is far cheaper than discovering a blind face after the cell is wired.
Why lock the mount before you configure?
The last thing the Aim step does is make the frame permanent. Configuration, the third step, sets the inspection against the exact image the camera sees, so if the mount shifts after you configure, the model is judging a frame that no longer exists and false rejects follow.
Tighten the bracket fully and check the preview again after tightening, because the act of torquing a fixing can nudge the frame by a millimetre or two. When the image holds still through the final tighten, the aim is locked and Configure can proceed against a stable view. For the full four-step sequence around this, see the sibling post on installing in 30 minutes; for the unit's optics and hardware, see the system page; and for the inspection method itself, see the pillar guide on AI visual inspection.