Updated July 2026 · 8 min read · Serkan İnkaya · Mechanical Engineer, ODTÜ
When do you need to retrain an inspection model in the field?
Retraining is triggered by a change on the line, not by a calendar. The common triggers are a new defect nobody specified at commissioning, a part revision or new SKU, a material or supplier change that shifts how a good part looks, and confirmed model drift, where the false-reject or escape rate creeps away from its baseline. Each of these is a signal that the model's idea of "good" or its list of known defects no longer matches what the line is actually running. The part-revision trigger has its own operational shape, who captures the images and how quickly the line can inspect the new variant, which is the subject of adding a new part variant to a running inspection line.
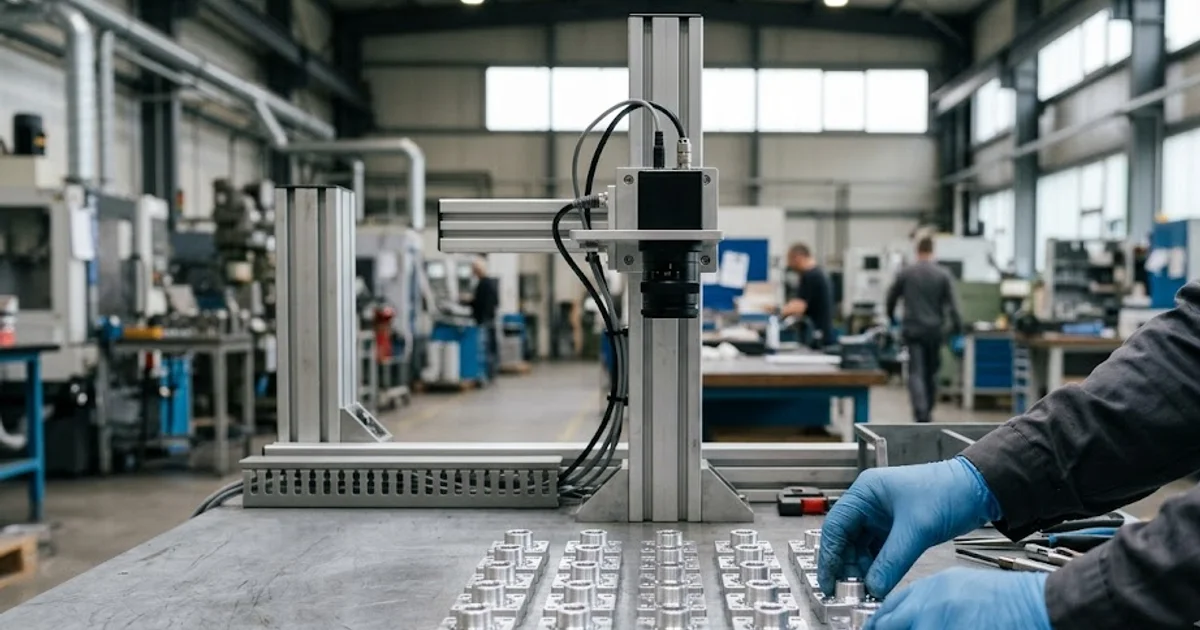
Adente Vision is an edge-AI visual inspection unit built by ADENTE Advanced Engineering Technologies, part of the Aden Group, sold through automation system integrators, and it is built so that retraining happens on the line rather than back at a vendor lab. The reference images are captured at the station, the model trains on the edge unit, and the updated model runs where the old one did. That keeps a new defect from becoming a multi-week support ticket.
How many images does adding a new defect take?
About 20. The unit trains from a small reference set, roughly 20 images, and the base inspection works on good parts only: it learns what a good part looks like and flags anything that deviates, so you do not have to assemble a catalogue of every defect before you start, the good-parts-only task public benchmarks such as the MVTec Anomaly Detection dataset measure. When a specific, recurring defect appears that you want named and counted rather than just flagged as an anomaly, you add it as a class from a comparable handful of examples.
Training completes in under 48 hours, so adding a defect is a two-day task rather than a data-collection project measured in months. The unit runs five modes, Anomaly & Defect Detection, Assembly & Missing Part, Code Reading, Measurement and Part Identification, and combines classical computer vision with AI inference, so a retrain can extend anomaly coverage, add a defect class, or refine a measurement without swapping the whole approach. The point is that the data requirement is small enough to gather in a single shift on the line.
How do you capture good and defect reference images on the line?
Capture the reference set from the real station, under the real lighting, at the real working distance, because a model trained on images that match the running conditions behaves the way it did in validation. Gather current good parts for the "good" reference, and, for a named defect, a comparable set of examples of that defect. Real defective parts are best; where a defect is genuinely rare, keep every example the line produces so the set grows over time.
Two habits keep a field retrain honest. First, capture across the normal spread of good parts, not just pristine ones, so ordinary variation does not later read as a defect. Second, keep the images representative of the current line, if the lighting, fixture or material has changed, recapture the good set rather than reusing an old one, because the model should learn today's line, not last quarter's.
A third habit is bookkeeping. Label each reference set by date, part revision and the condition it was captured under, so any model can be traced back to the images that produced it. When a later retrain regresses, that record is what lets you find the set that worked and rebuild from it, rather than starting from a blank line.
Which trigger needs which images and steps?
Different changes call for different reference sets and checks. Match the trigger to the right retraining action rather than retraining reflexively.
| Retraining trigger | What to capture | Steps and check |
|---|---|---|
| New defect type appears | About 20 examples of the defect plus current good parts | Add the defect class, retrain (under 48 h), validate escapes on known-bad parts |
| Part revision or new SKU | About 20 good images of the revised part | Train on good parts only, validate false rejects on the new good part |
| Material or supplier change | Good parts from the new material | Re-baseline the good model, watch false rejects for drift |
| Seasonal or lighting shift | Good parts under the new condition | Re-baseline or retrain, confirm on the first parts after the switch |
| Confirmed model drift | Fresh good set plus recent rejects | Retrain, keep the prior model as a fallback |
How do you validate a retrained model before it goes live?
Validate against both kinds of error before the new model decides on real production. Run known-good parts through it and count false rejects, the good parts it wrongly fails, then run known-bad parts and count escapes, the defects it wrongly passes. A retrain that lowers escapes but doubles false rejects is not an improvement, it is a different trade, and you want to see the trade before it reaches the line.
Use a proven installation as the reference for what a validated model looks like. On a delivered cap-inspection line, the unit reached a 99.65% F1-score with a 0.69% false-negative rate, which is the kind of balance a good model holds: few escapes without a wall of false rejects. Treat those as the benchmark for the shape of a healthy result, not as a number you will hit on a different part: the false-reject and escape rates you can commit to for your defect need an application-specific measurement on your parts and lighting. The goal of validation is a model whose two error rates you have actually measured, not assumed.
Can you keep the old model as a fallback?
Yes, and you should, because a retrain is a change and changes occasionally regress. Keep the previous model available so that if the new one misbehaves on the first production parts, you can revert to the known-good version and inspect a failure at leisure rather than under line pressure. Promote the new model only after it has passed the false-reject and escape checks on parts you set aside for validation.
On an air-gapped line, this stays simple: models move by USB stick, so the previous version can be held on the unit or on the stick and reloaded without a network. Retraining on the edge, validating against real parts, and keeping a fallback turns "a new defect appeared" from an emergency into a routine, two-day operation your own team can run. For why 20 images is enough in the first place, see the sibling post on inspecting with 20 images; for where these checks fit in deployment, see the applications page; and for the full method, see the pillar guide.